Need Help?


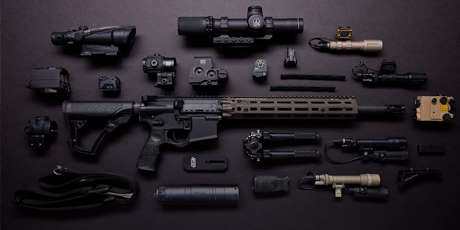
AIRSOFT GUNS & MORE
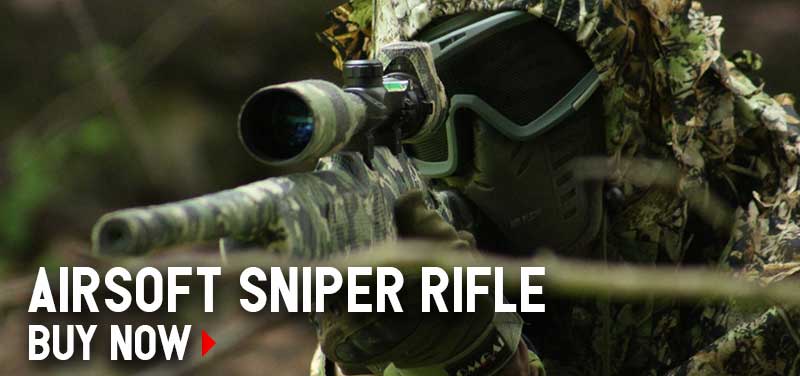
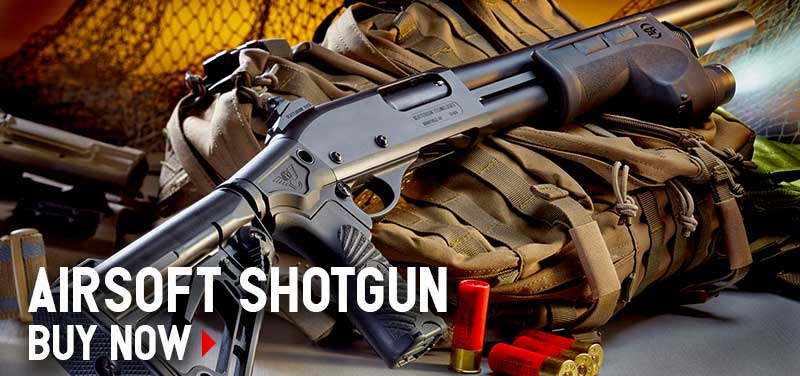
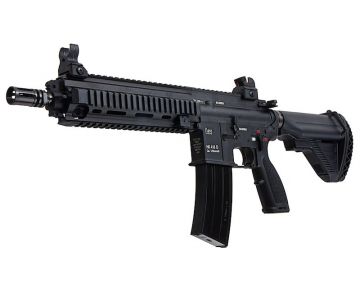
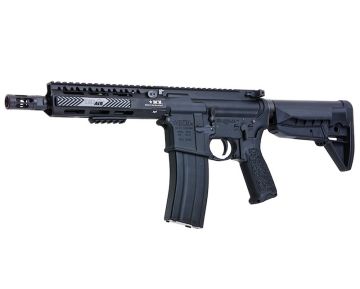
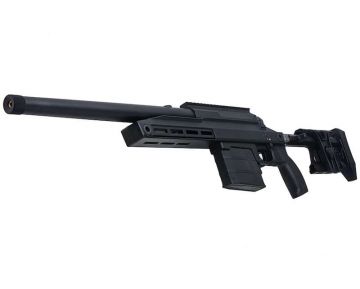
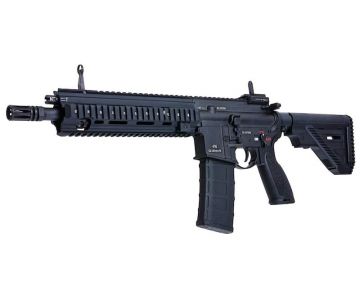
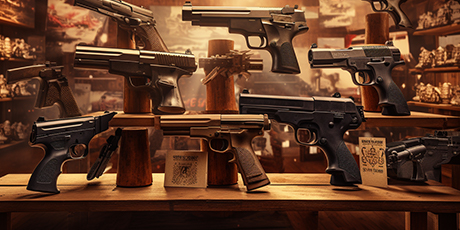
Voted best airsoft guns online store and most trusted airsoft website in the world. Cheapest prices on Airsoft Rifles, Airsoft Pistols, Airsoft Sniper, Airsoft Shotguns, Airsoft Masks, Airsoft Grenades, Electric Airsoft Guns, Gas Airsoft Guns & Airsoft Machine Guns. Airsoft guns for sale from Tokyo Marui, Krytac, Novritsch, Umarex, Cybergun, Strike Industries, Ronin Tactics, Acetech, Holosun, VFC Airsoft, GHK Airsoft, G&G Airsoft, and more. We ship worldwide!


VOTED #1 AIRSOFT GUN SHOP
New Arrivals See more


BEST SELLERS See more
-
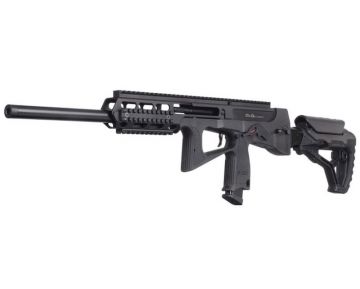
 Tokyo Marui AKX GBB Rifle$539.99
SALE See more
-
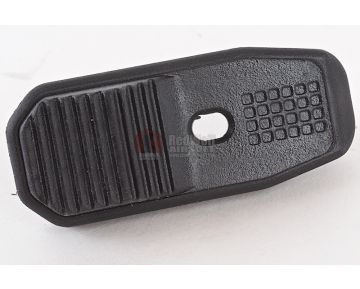 PTS EPM Baseplate - BlackSpecial Price $4.99 Regular Price $5.20
 -
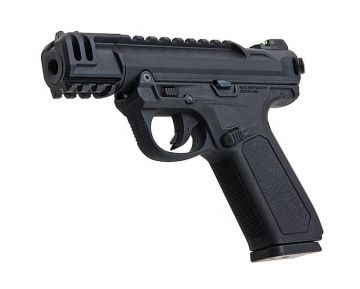 Action Army AAP 01C GBB Airsoft PistolSpecial Price $81.99 Regular Price $85.99
 -
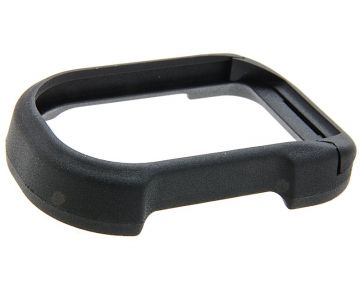 RWA Agency Arms EXA Original Magwell (Parts# 03-19) (VGC7MAG050, VGC7MAG060, VGC7LRV430)Special Price $11.99 Regular Price $14.99
 -
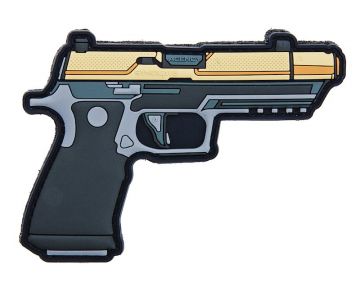 Agency Arms Syndicate S2 320 PatchSpecial Price $9.99 Regular Price $11.99
 -
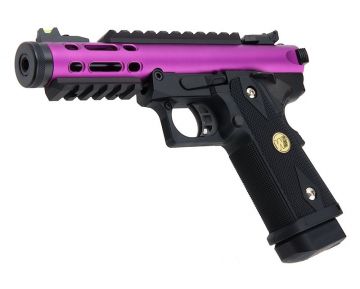 WE-Tech Hi Capa 5.1 Galaxy Type A Green Gas Airsoft Pistol - Purple Slide K FrameSpecial Price $89.99 Regular Price $114.99
 -
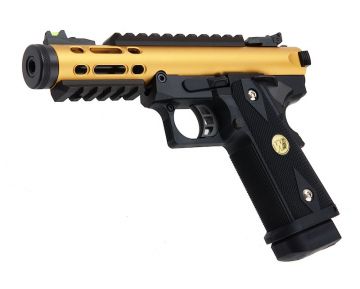 WE-Tech Hi Capa 5.1 Galaxy Type A Green Gas Airsoft Pistol - Gold Slide K FrameSpecial Price $89.99 Regular Price $114.99
 -
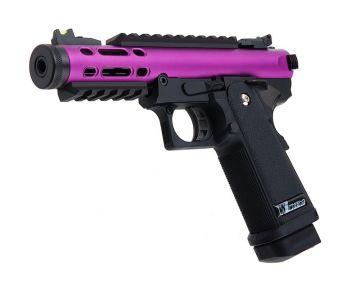 WE-Tech Hi-Capa 5.1 Galaxy Type A Green Gas Airsoft Pistol - Purple Slide R FrameSpecial Price $89.99 Regular Price $114.99
 -
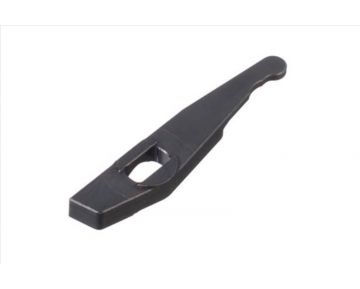 Modify PP-2K/ OTs-126 Reinforced Fire Selector Lever SetSpecial Price $7.99 Regular Price $15.99
 -
 Agency Arms Urban Reaper LE PatchSpecial Price $8.99 Regular Price $10.99
 -
 Modify Ots-126 Kit for PP-2K GBBR - BlackSpecial Price $279.99 Regular Price $372.99
Shop by Category


RECENT REVIEWS ON REDWOLF TV See More